

1. Within your reseller panel click the Marketplace tab along the left navigation pane

2. Search for your desired SKU using the search bar or click through to the “Microsoft 365 Commercial (NCE)” product page.

3. Find the desired SKU(s) and add to your cart.
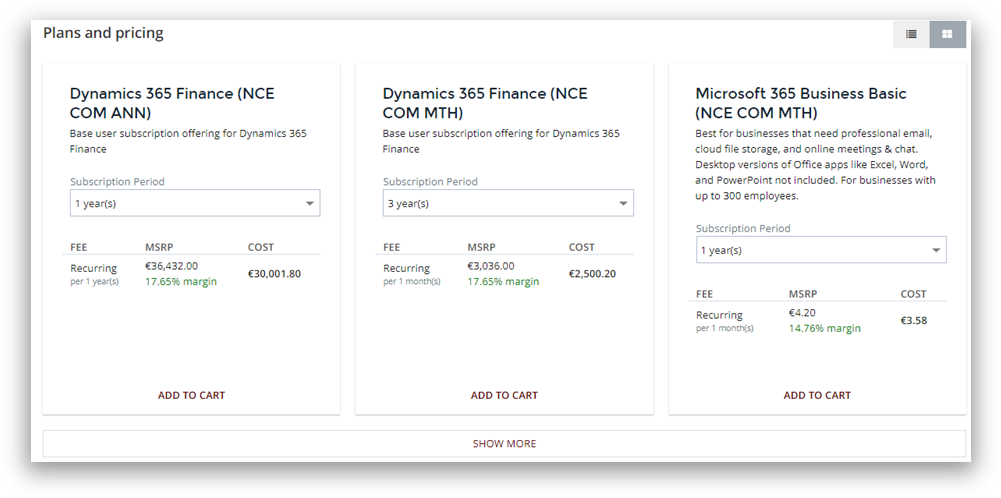
4. Go to your Cart once you are ready to place your order, validate the quantities and click Next.
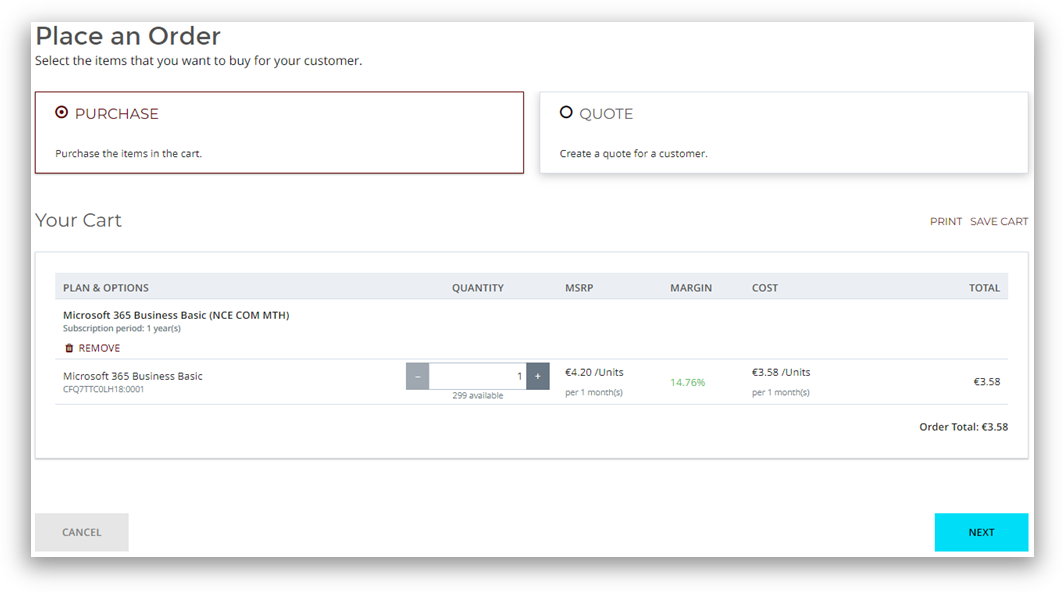
NOTE: Please take extra special care to choose the right SKU and subscription period/billing term. Subscriptions cannot be cancelled after 7 days.
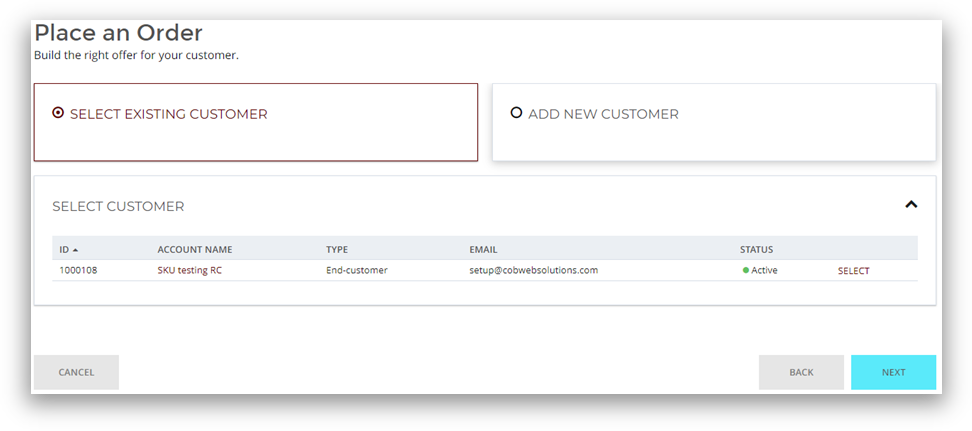
5. Choose if this is for an existing customer or go through the wizard to create a new customer for this purchase. In this example, we will use an existing customer, clicking “Select” and then Next.
6. If this is your first purchase for NCE Microsoft 365 Commercial, you will be required to enter your reseller MPNID (Microsoft Partner Number) and tenant domain.
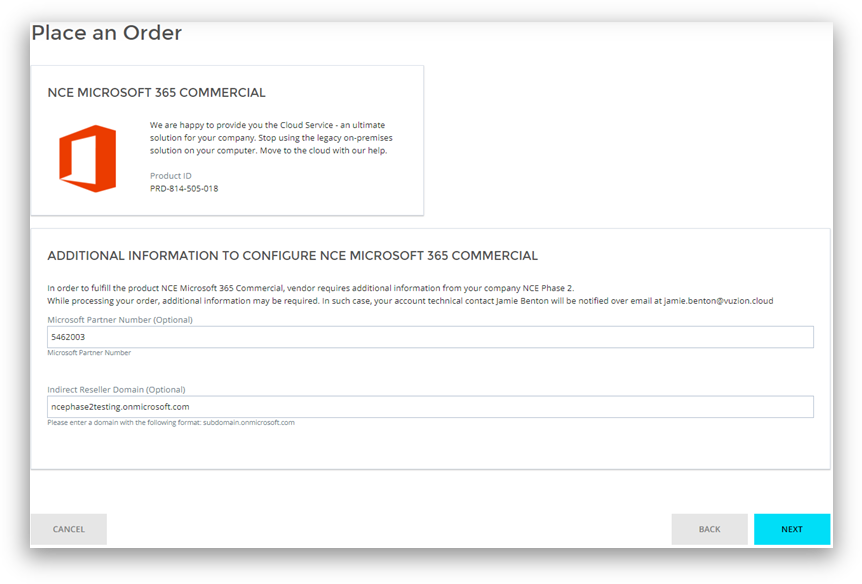
7. After filling in these details, click Next and you will be able to choose if this is for a new 365 Tenant, or to use an existing 365 Tenant. In this example, we’ll use create new.
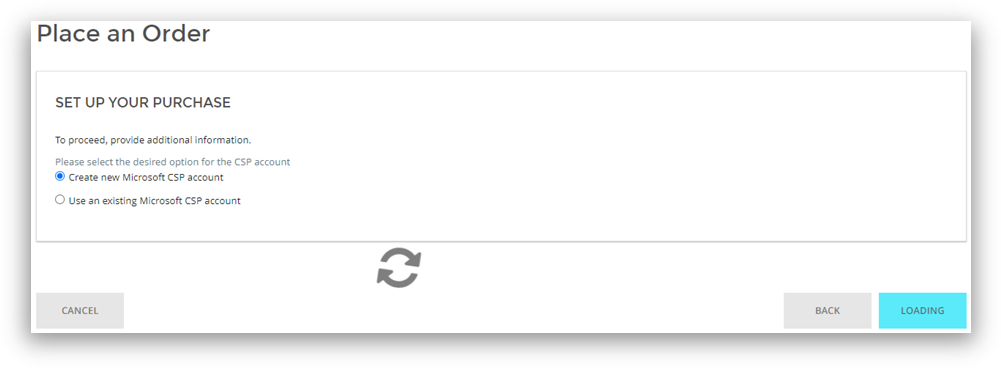
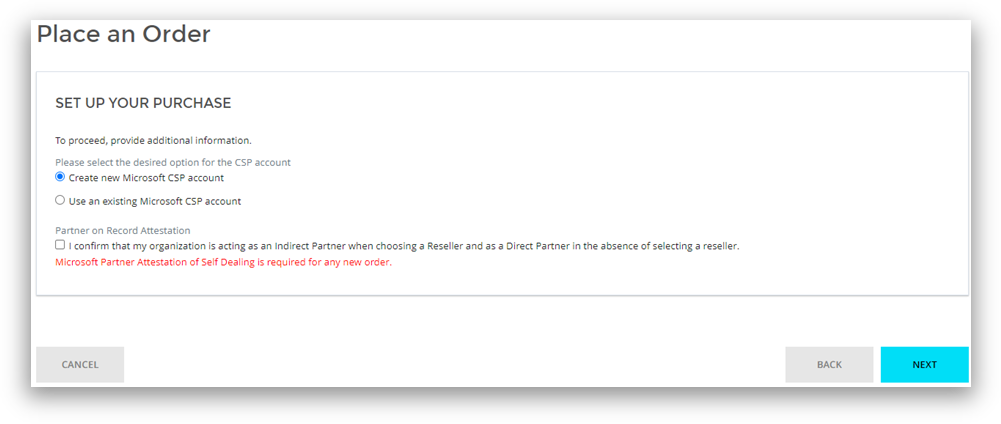
8. Any new order will require Microsoft Partner Attestation of Self-Dealing to be ticked to confirm that your organization is acting as an Indirect Partner when choosing a Reseller and as a Direct Partner in the absence of selecting a reseller, Tick this option, click next.
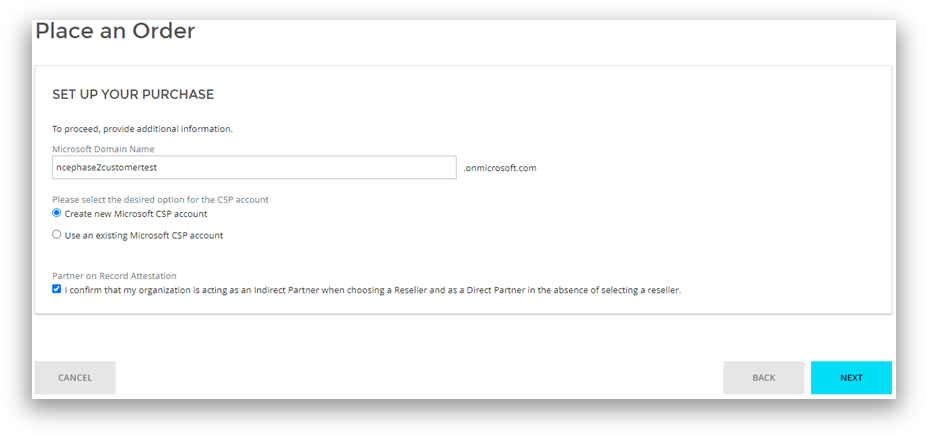
9. Next you will be prompted for the subdomain details for the customer, select “Create new” or “Use an existing” accordingly if you are looking to provision a fresh tenant or add licenses to an existing tenant.
10. The order will now start to provision, any further information required for the order will be requested from a form you can find in the customers CORE panel . Click the Customers tab along the left navigation pane and click Log In alongside the customer you wish to administer.
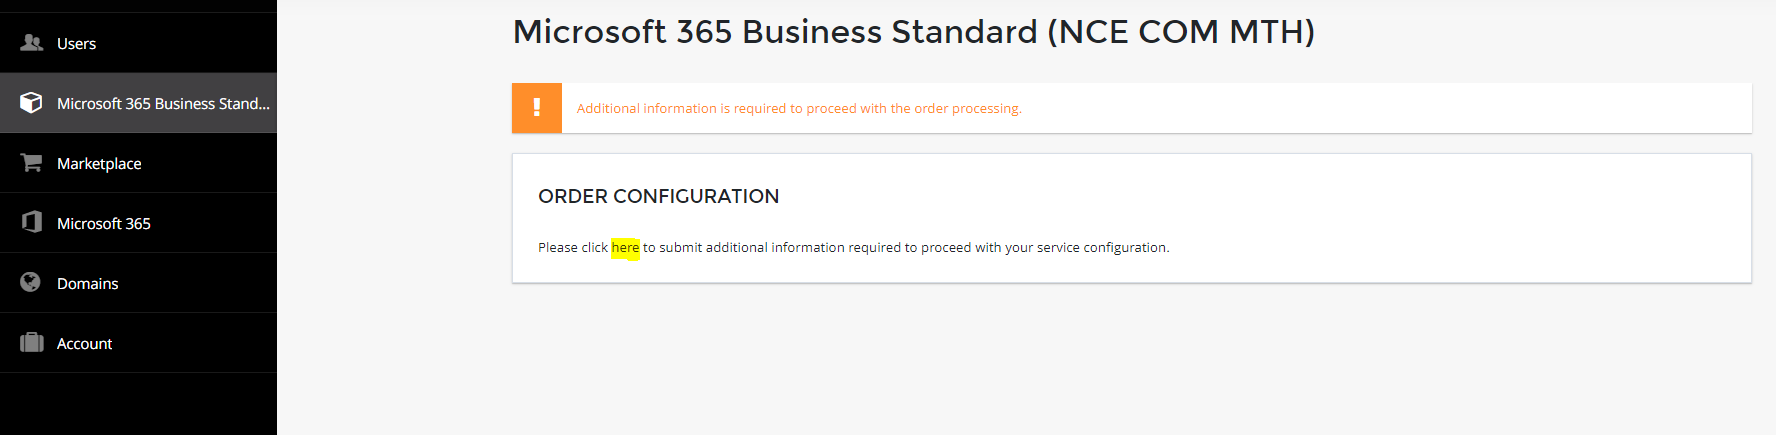
11. Select the SKU you have purchased from the navigation bar on the left, in this example it is Business Standard.
If further information is required, you will find the notification below and you will need to press the word here to take you to the form. Any information above that was not completed will be requested in this form.
Please Note: In some scenarios, provisioning can take up to 24 hours due to Microsoft policies & throttling.